
Here at fastfwd, we work on a number of Umbraco projects, and although the framework is brilliant in itself, from time to time we need to go find non-standard solutions to problems posed by our clients. One of our .Net development team tells us more…
The Problem
Unfortunately, although Umbraco does use TinyMCE, it doesn’t come configured with the text colour picker. However, a fair few clients would still want the flexibility of changing colours within their content. The non-dev solution would be to set up color classes in the CSS – however this is unnecessary and still doesn’t allow the customisation of text colour on a whim.
On a recent project, we needed to enable tinyMCEs textcolour picker on the Umbraco Richtext editor with predefined colours. The question was; how the hell do we go about doing this? Additionally, to keep the content “on brand” we needed to lock down the colours available so that they are limited to brand safe colours, in line with the client’s strict guidelines.
The Background
Umbraco uses TinyMCE and has a configuration file called tinyMceConfig.config located in the sites config folder.
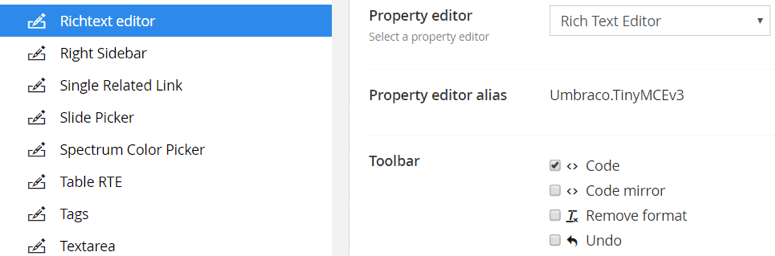
If you are unaware of this “Umbraco using tinyMce”, you can go to the developer section and expand the datatype node. Find and click on the richtext editor node in order to see the selected datatype pane on the right. See image below.
Configuring the tinyMceConfig.config file
In the tinyMceConfig file, take note of the xml structure as seen on the image below “tinymceConfig > commands > command”.
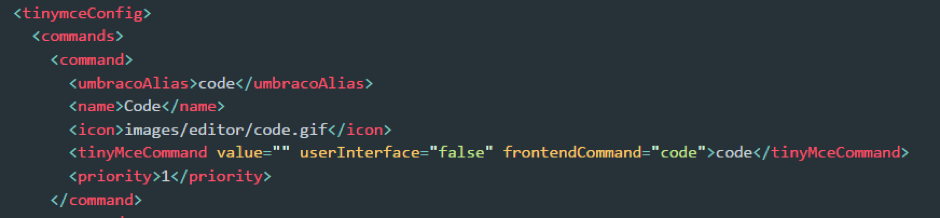
We’re interested in the <command> node and its children. The plugin we’re trying to enable can be located here /umbraco/lib/tinymce/plugins/textcolor/plugins.js
Step 1
Copy the below code and place it anywhere within the <commands> node or just after the last <command> node.
<command>
    mceForeColor
    images/editor/forecolor.gif
    forecolour
    75
</command>
The priority defines the position of the toolbar menu item on the richtext editor. In this case I have decided to increment the last command priority value on this command. This will position the textcolour picker at the bottom of the toolbar menu on the richtext editor.
Step 2
Let’s tell Umbraco to load the textcolor on the richtext editor. See image below.

Search for the <plugins> node in the tinyMceConfig file and add the below code inside the <plugins> node.
<plugin loadOnFrontend="true">textcolor</plugin>Step 3
Now that we have added the above codes, now is the right time to add custom configuration for the textcolor picker.
Remember the client requested that we only enable some colours in the textcolor pallet. This can be achieved using the <customConfig> node section in the tinyMceConfig file. In the <customConfig> node we have child nodes called <config>. Add below code to the <customConfig> node
<config key=”textcolor_map”>
<config key="textcolor_map">
    [
        "31509E", "blue",
        "4d88ad", "Primary blue",
        "553772", "Purple",
        "006778", "Turquoise",
        "dd6000", "Orange",
        "8e9300", "Green",
        "253e51", "Dark blue",
        "f4aa00", "Yellow",
        "879196", "Grey",
        "9e1b32", "Red"
    ]
</config>
Step 4
Touch the web.config in order to recycle the app pool
Step 5
Jump over to the Richtext editor datatype and enable the newly added plugin. Search for mceforecolor on the datatype toolbar field and check the checkbox.
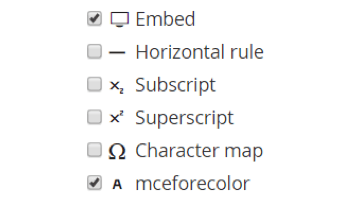
Navigate to a content page using the RTE datatype and confirm if the text colour works as expected.

That’s all! As you can see, it’s a fairly simple process – just took a bit of figuring out. If you are ever stuck on an Umbraco project and need professional help, feel free to contact us.