
So I am trying to learn a bit more of the ‘technical stuff’ while working in a digital agency alongside managing projects. This is really advantageous for the team because things like adding favicons to a website or adding a google analytics tracking code doesn’t need to be done by an experienced developer. Project managers can really help out the development team if we already have a basic understanding of code. So I wanted to document what I’m learning through the fast fwd blog and here’s my first lesson… How to set up a website locally on your Mac using Sourcetree and Beanstalk.
The first step to getting into the world of code is to be able to edit websites, not just within WordPress admin, but also to edit the code of a site. Through this guide, I will be talking about Beanstalk and Sourcetree so I thought a bit of background information might help…
Beanstalk
A complete workflow to write, review & deploy code.
To put it simply Beanstalk hosts and manages Git repositories. Git repositories are where all the code and assets for a website are kept in the cloud – they hold everything including images, code and plugins. Every time someone wants to make a change to a website’s code they need to send files to the production server – Beanstalk makes this transition simple and fluid.
Sourcetree
Simplicity and power in a beautiful Git GUI
Sourcetree is a management system which makes it easy to control changes locally and send those changes to the Git repository. It is an easy connection between your local server and Beanstalk – which hosts the Git repository.
So now we have a bit of understanding let’s get stuck in…
Pull the Git repository from Beanstalk
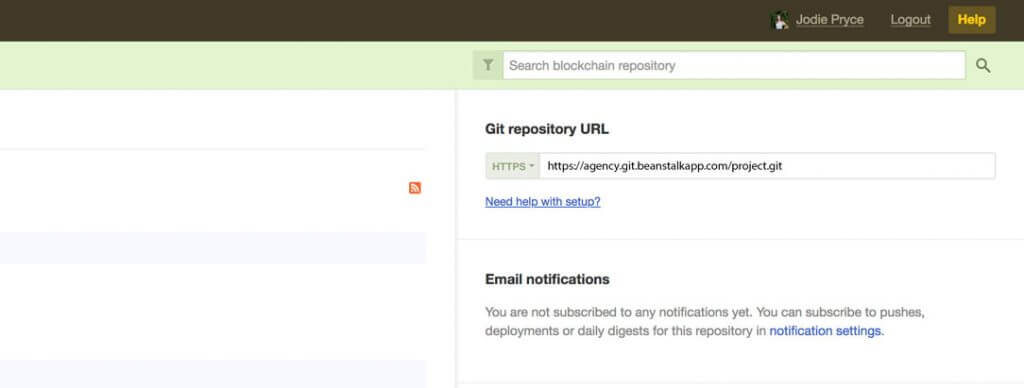
Log into Beanstalk and navigate to the relevant project. Click into the project and look for the HTTPS link on the right-hand side.
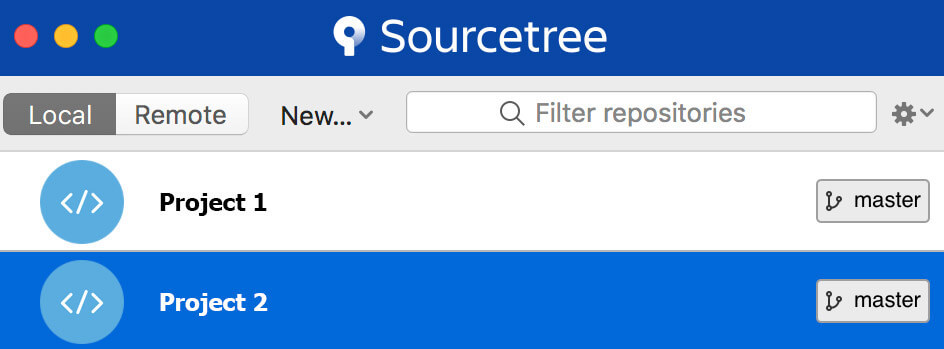
Copy the link and open up Sourcetree
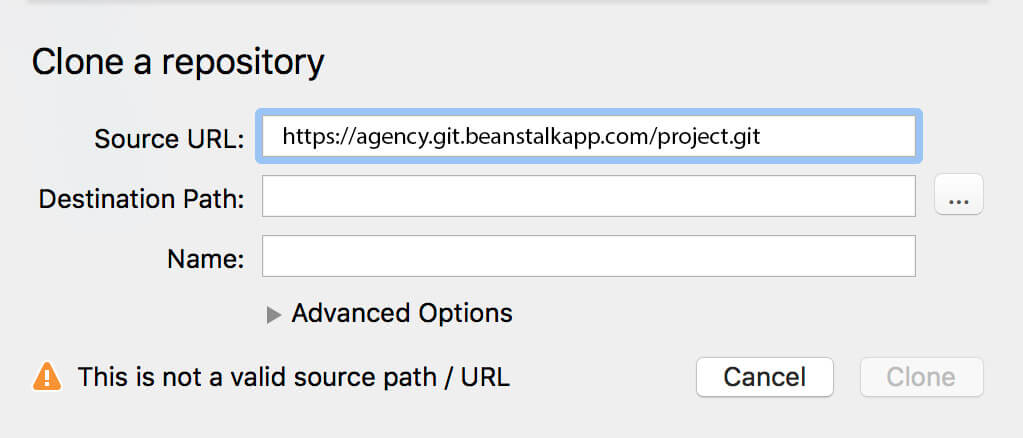
Click ‘New…’ and then ‘Clone from repository’.
Here is where you will paste the URL you copied from Beanstalk. In the ‘Destination Path’ field click the ellipsis and go to your www folder. Now create a new folder and call it your project name then click ‘open’. In the ‘Name’ field write the name of your project.
Now click the ‘clone’ button
And you’re all set! If you now go to finder and click into your ‘www’ folder then click into the relevant project folder you will find all the code, assets and plugins for your site.